# Chainlink Functions Subscription In this lesson, we are going to create a Chainlink Functions subscription so we can add Chainlink Functions consumer contracts to it to fund their Chainlink Functions requests. ## Creating a Chainlink Functions subscription Let's create a Chainlink Functions subscription on Sepolia. As a recap, Chainlink Functions subscriptions are used to pay for, manage, and track Chainlink Functions requests. 1. Open [functions.chain.link](https://functions.chain.link/), connect your wallet (make sure you are still connected to Sepolia) and click **Create Subscription**: 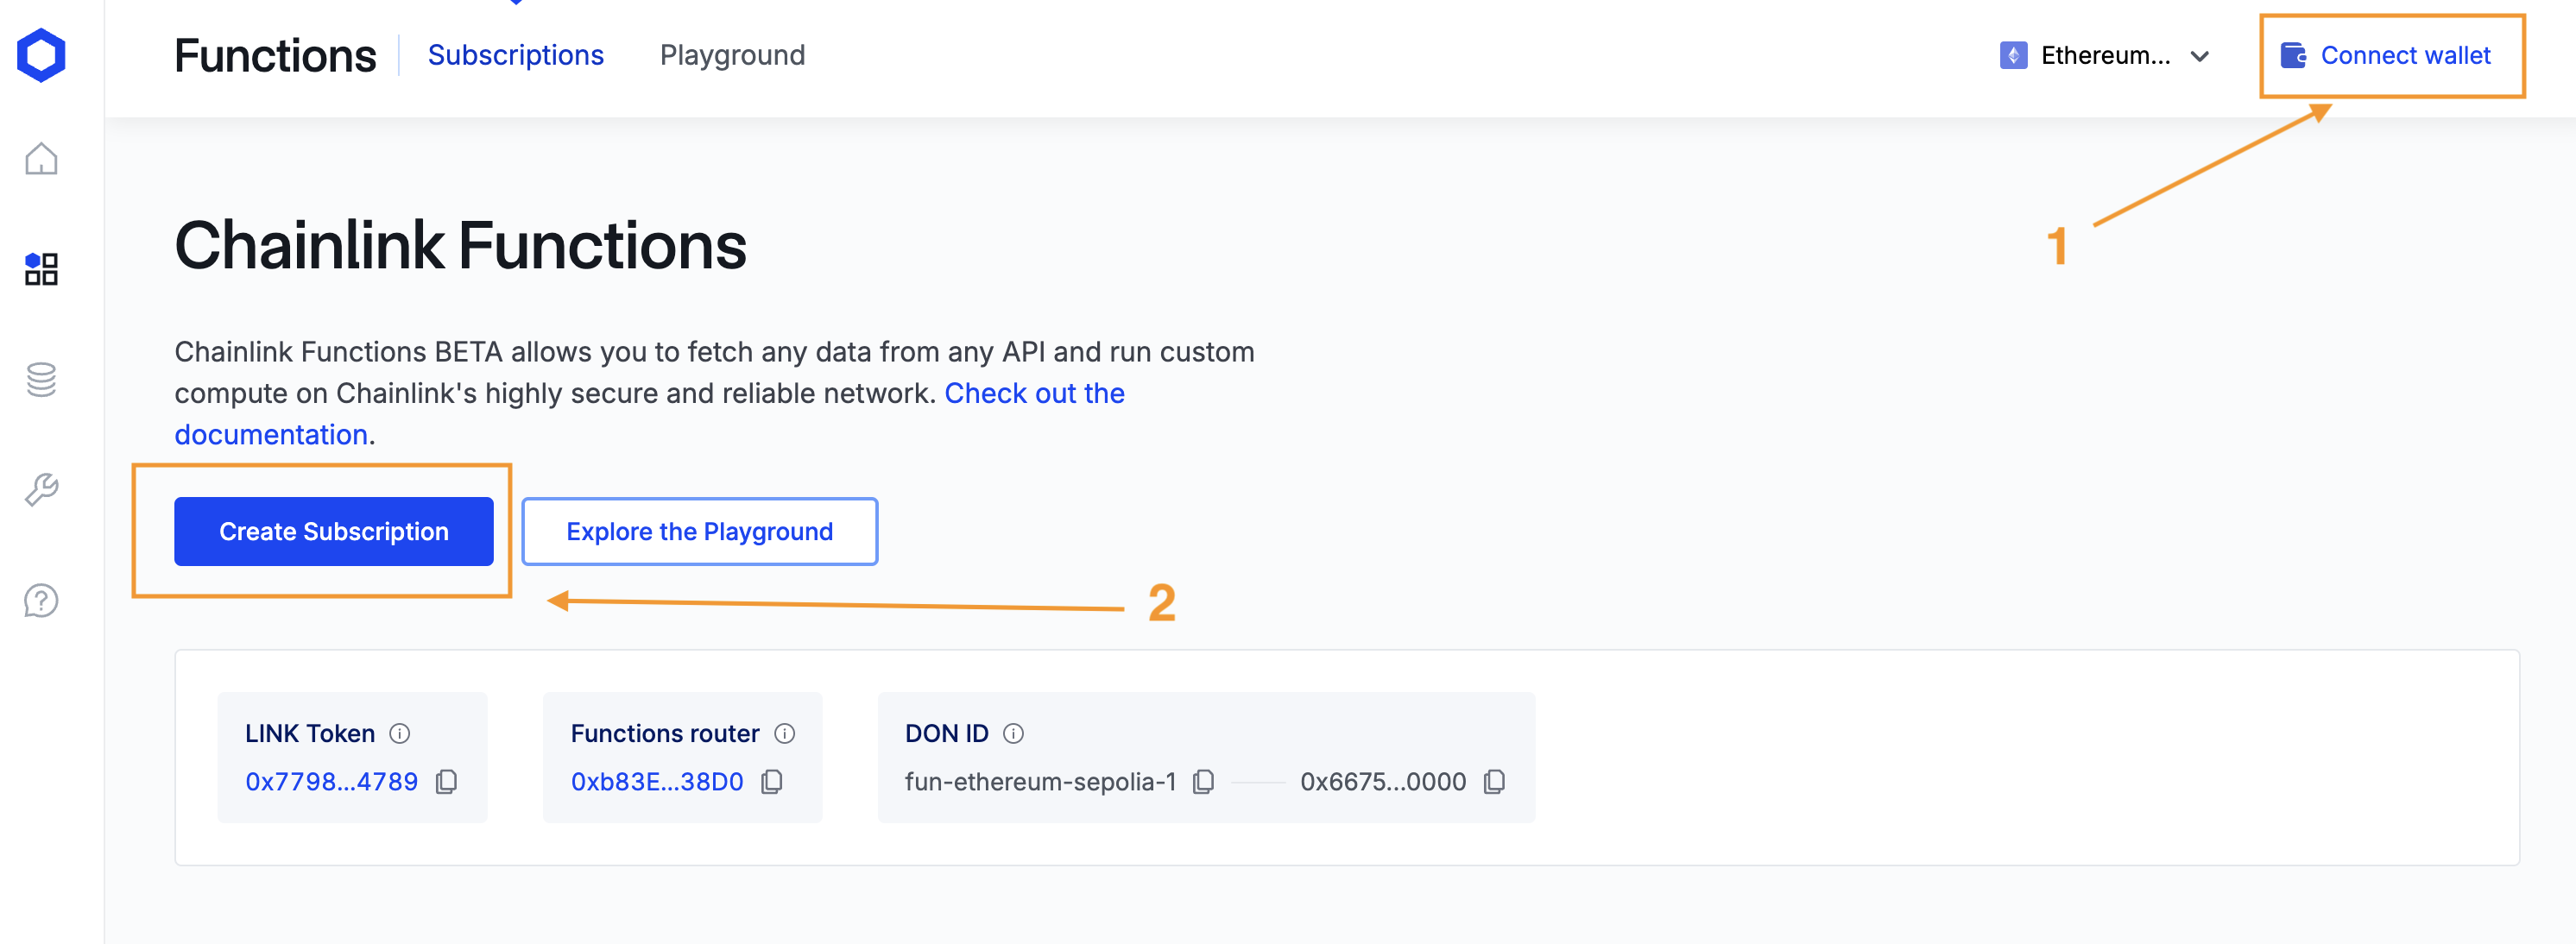 2. Enter your email and, optionally, a subscription name. 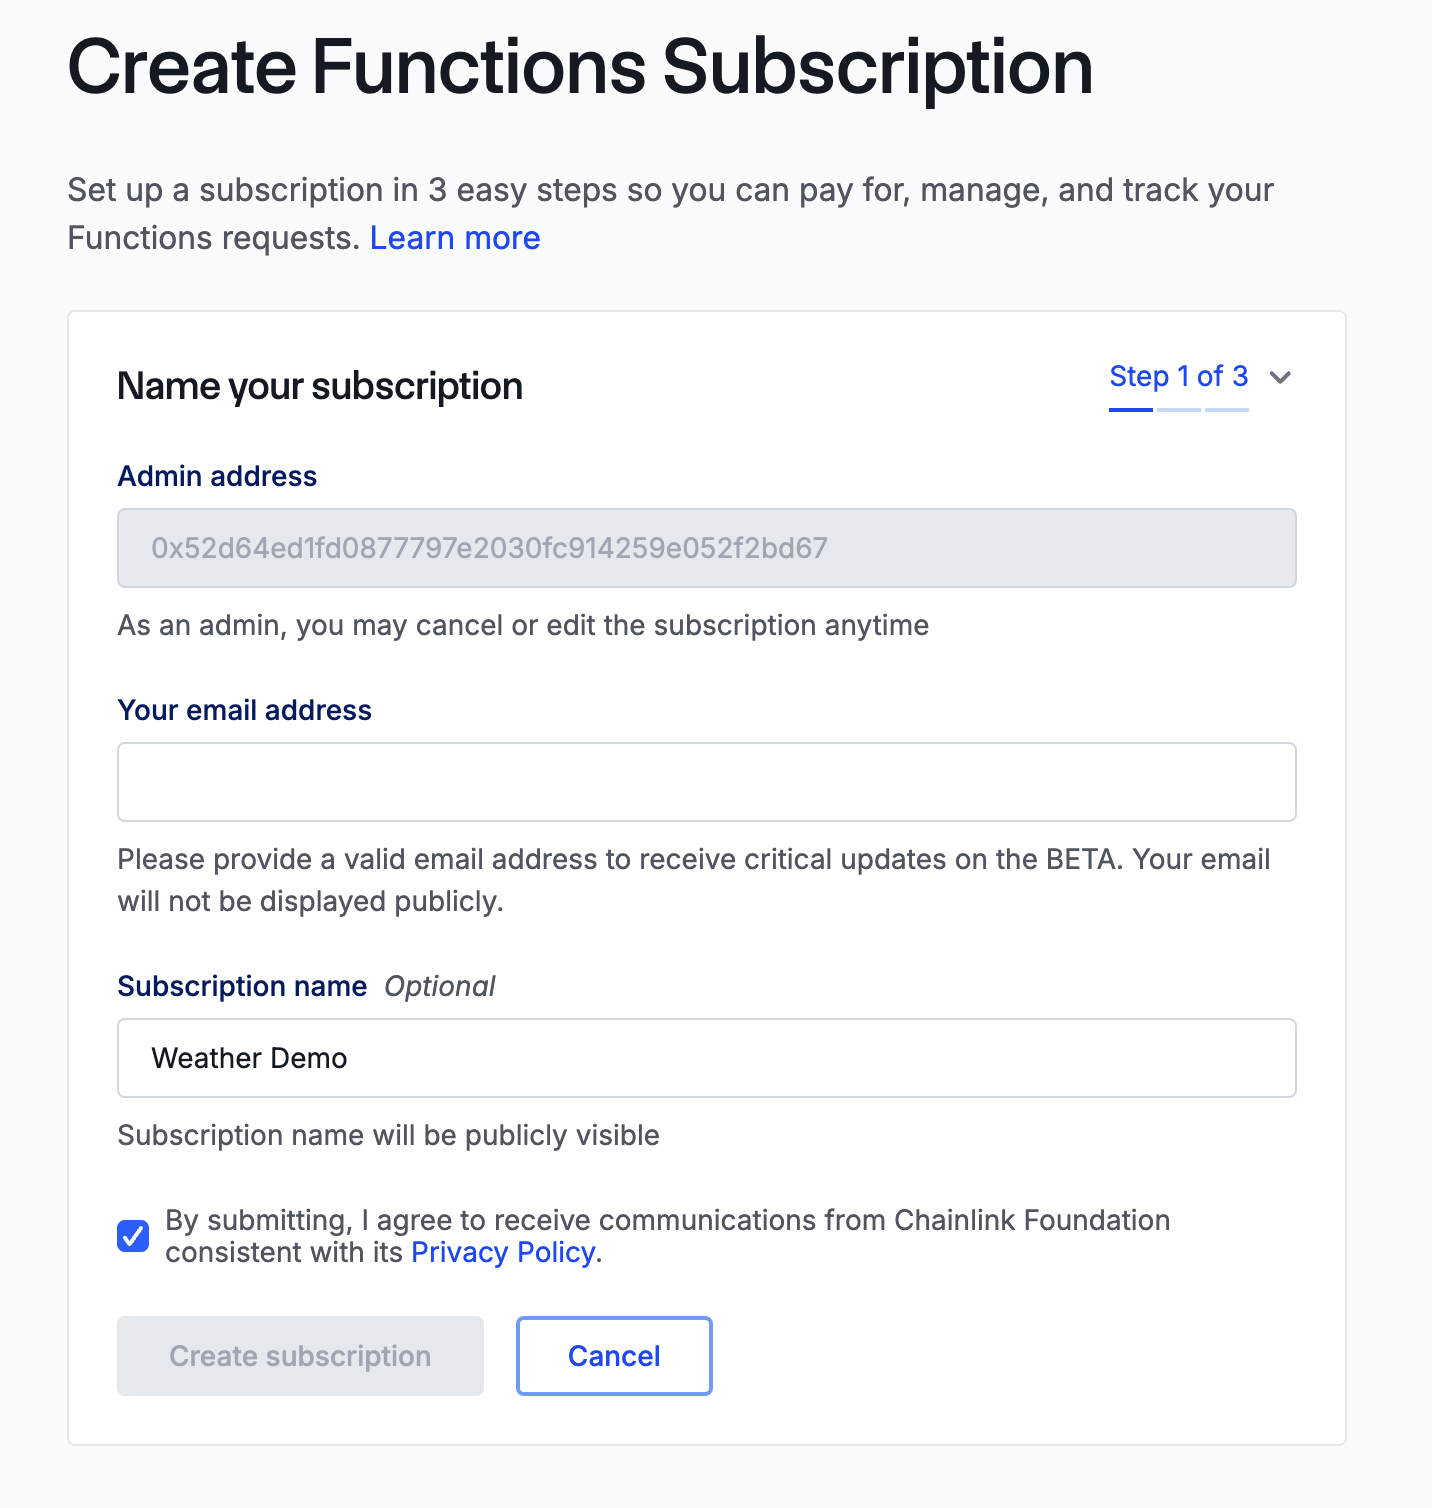 3. The first time you interact with the Subscription Manager using your wallet, you must accept the Terms of Service (ToS). A MetaMask popup will prompt you to sign a message to accept the TOS. 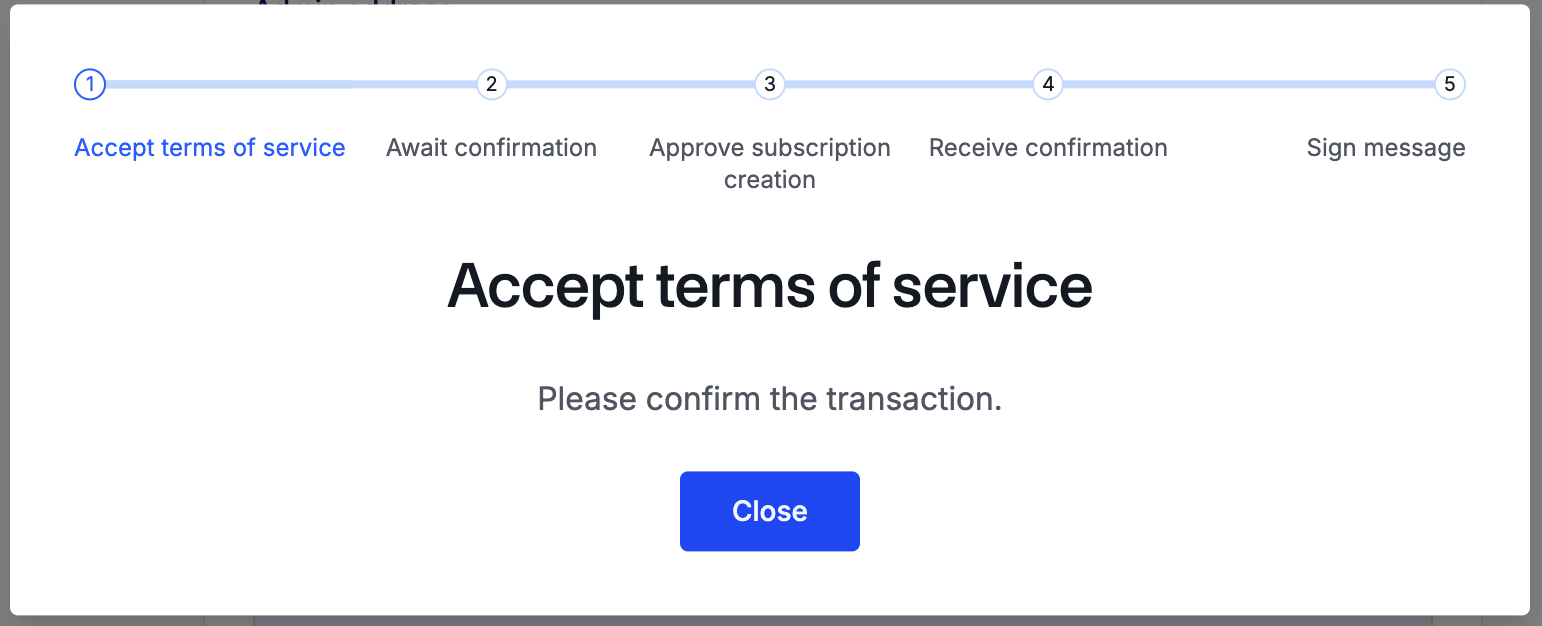 4. MetaMask will then pop up again and ask you to sign a message to approve the subscription creation: 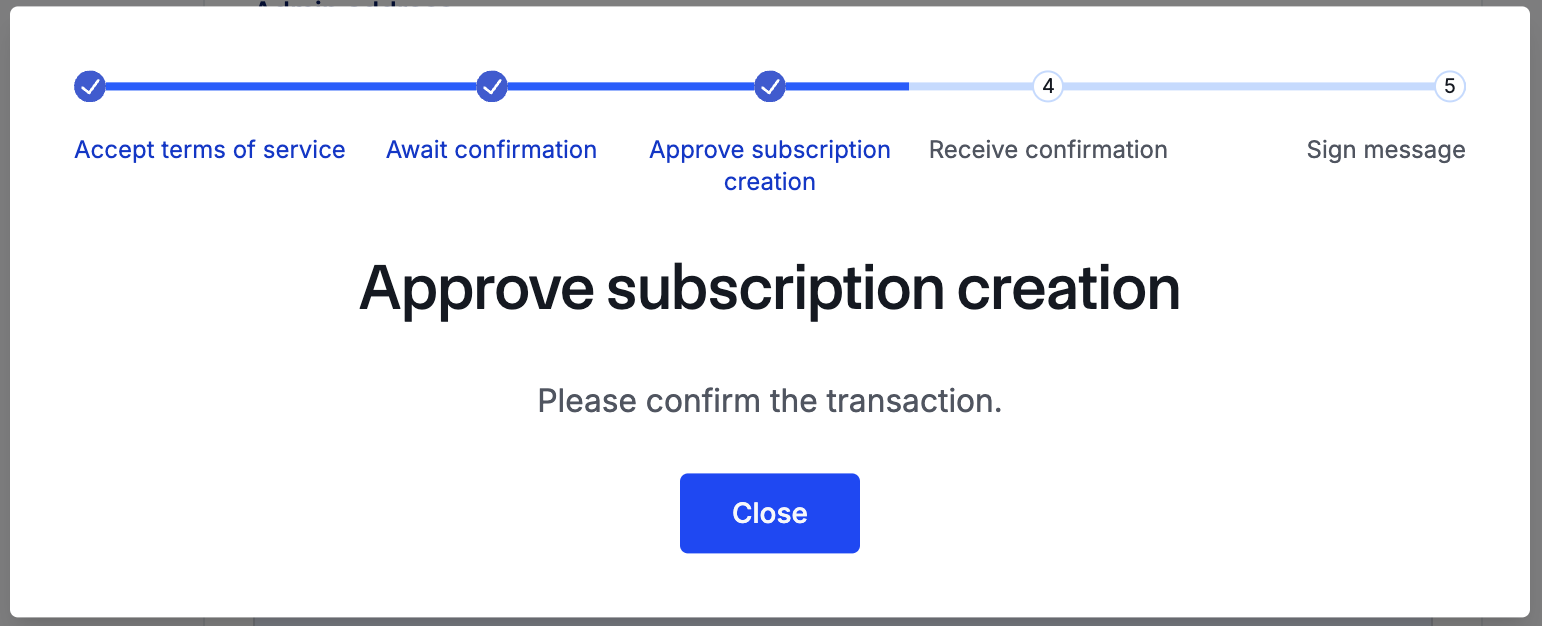 5. After the subscription has been approved, MetaMask will pop up a third time and prompt you to sign a message that links the subscription name and email address you provided and ensure you are the subscription owner: 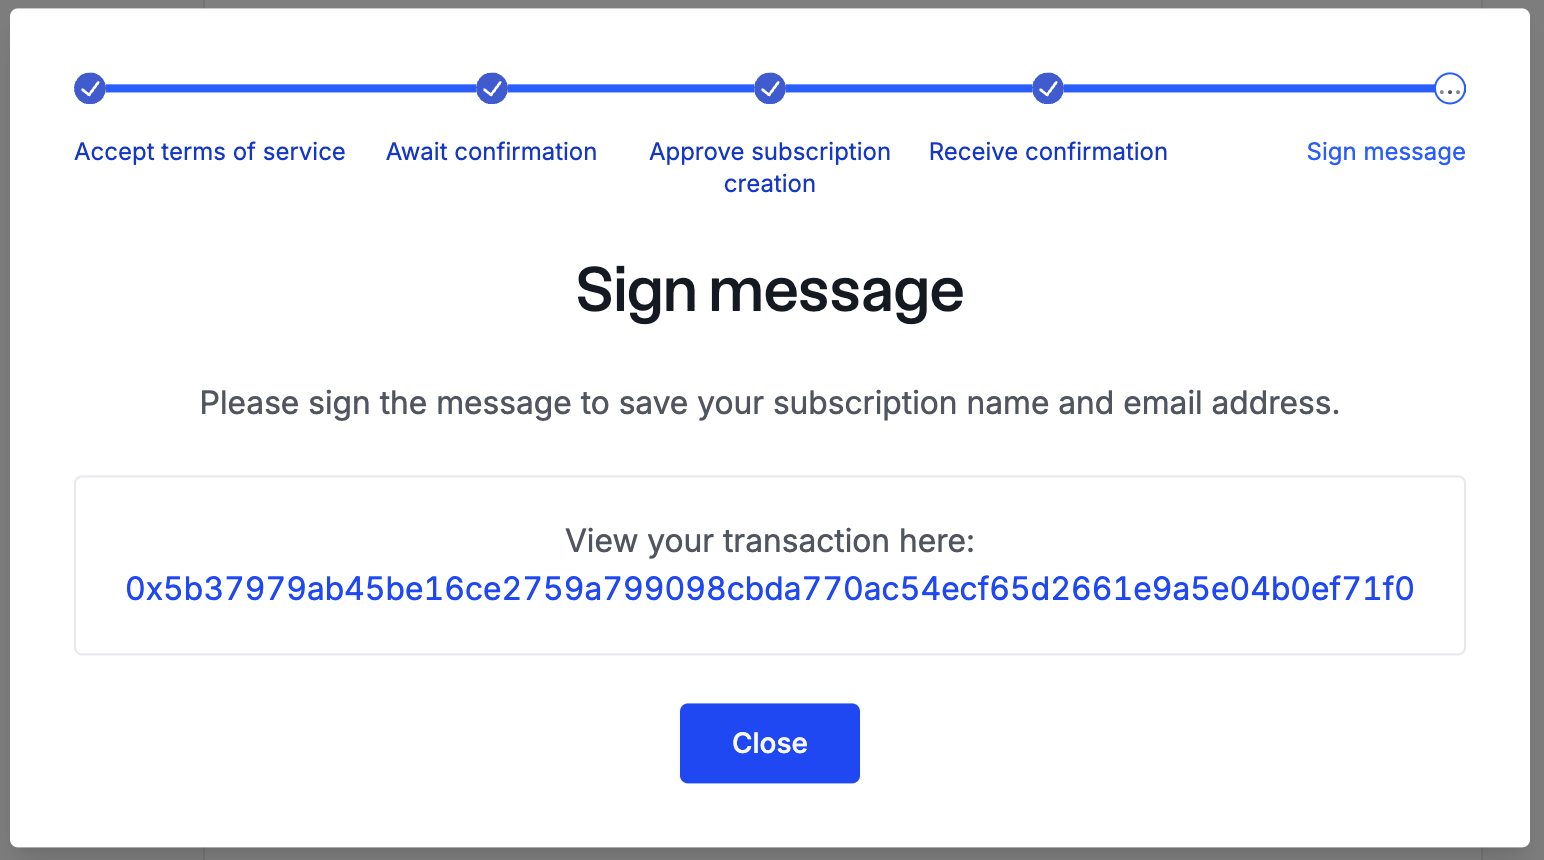 ## Funding a subscription After the subscription has been created, add funds by clicking the **Add funds** button: 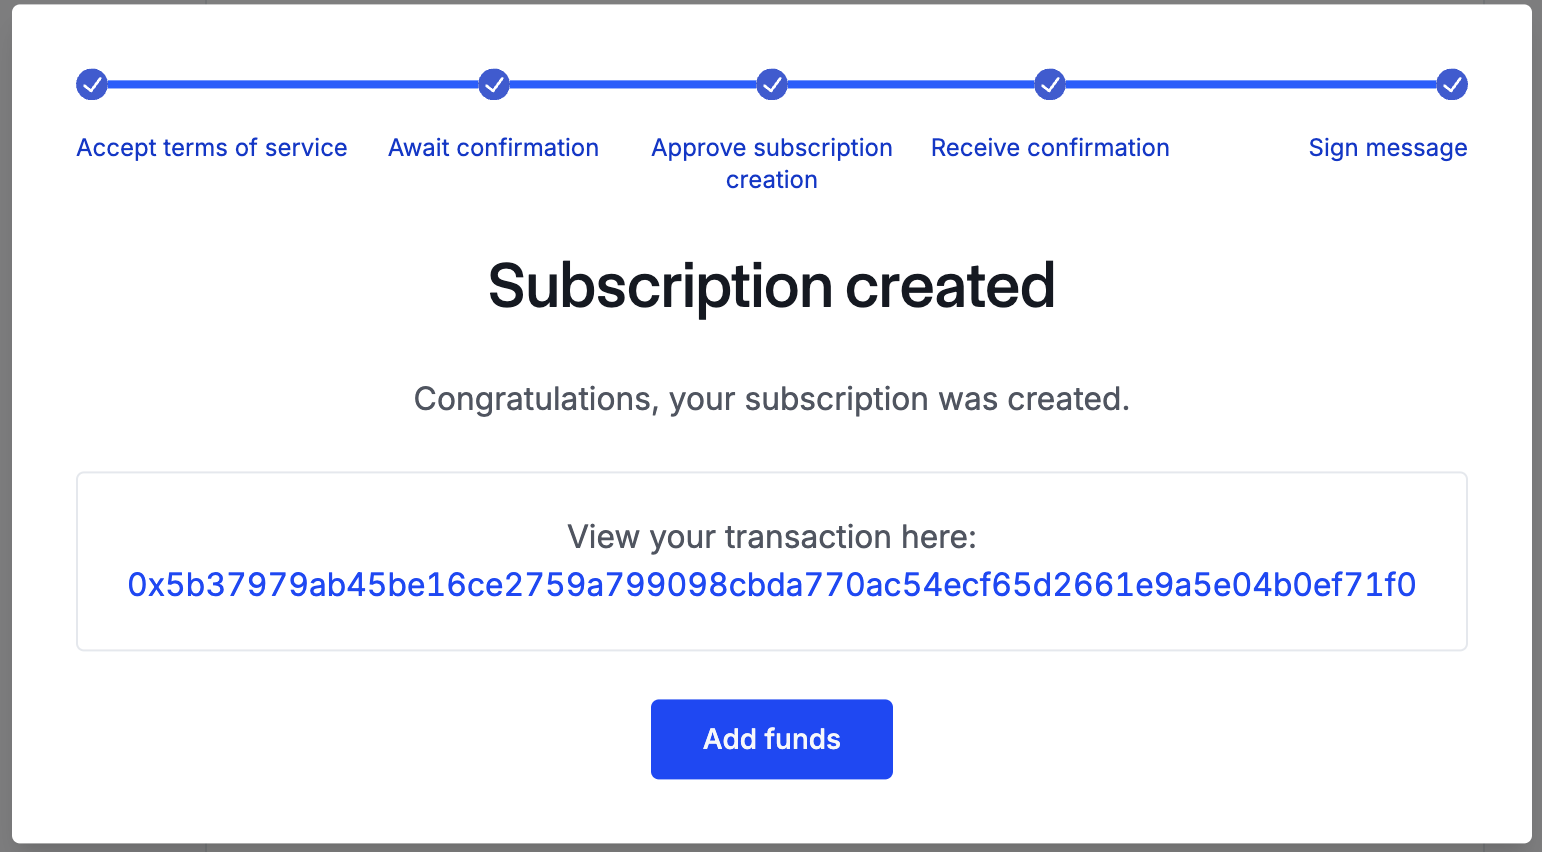 For this example, enter `5 LINK` and click **Add funds**: 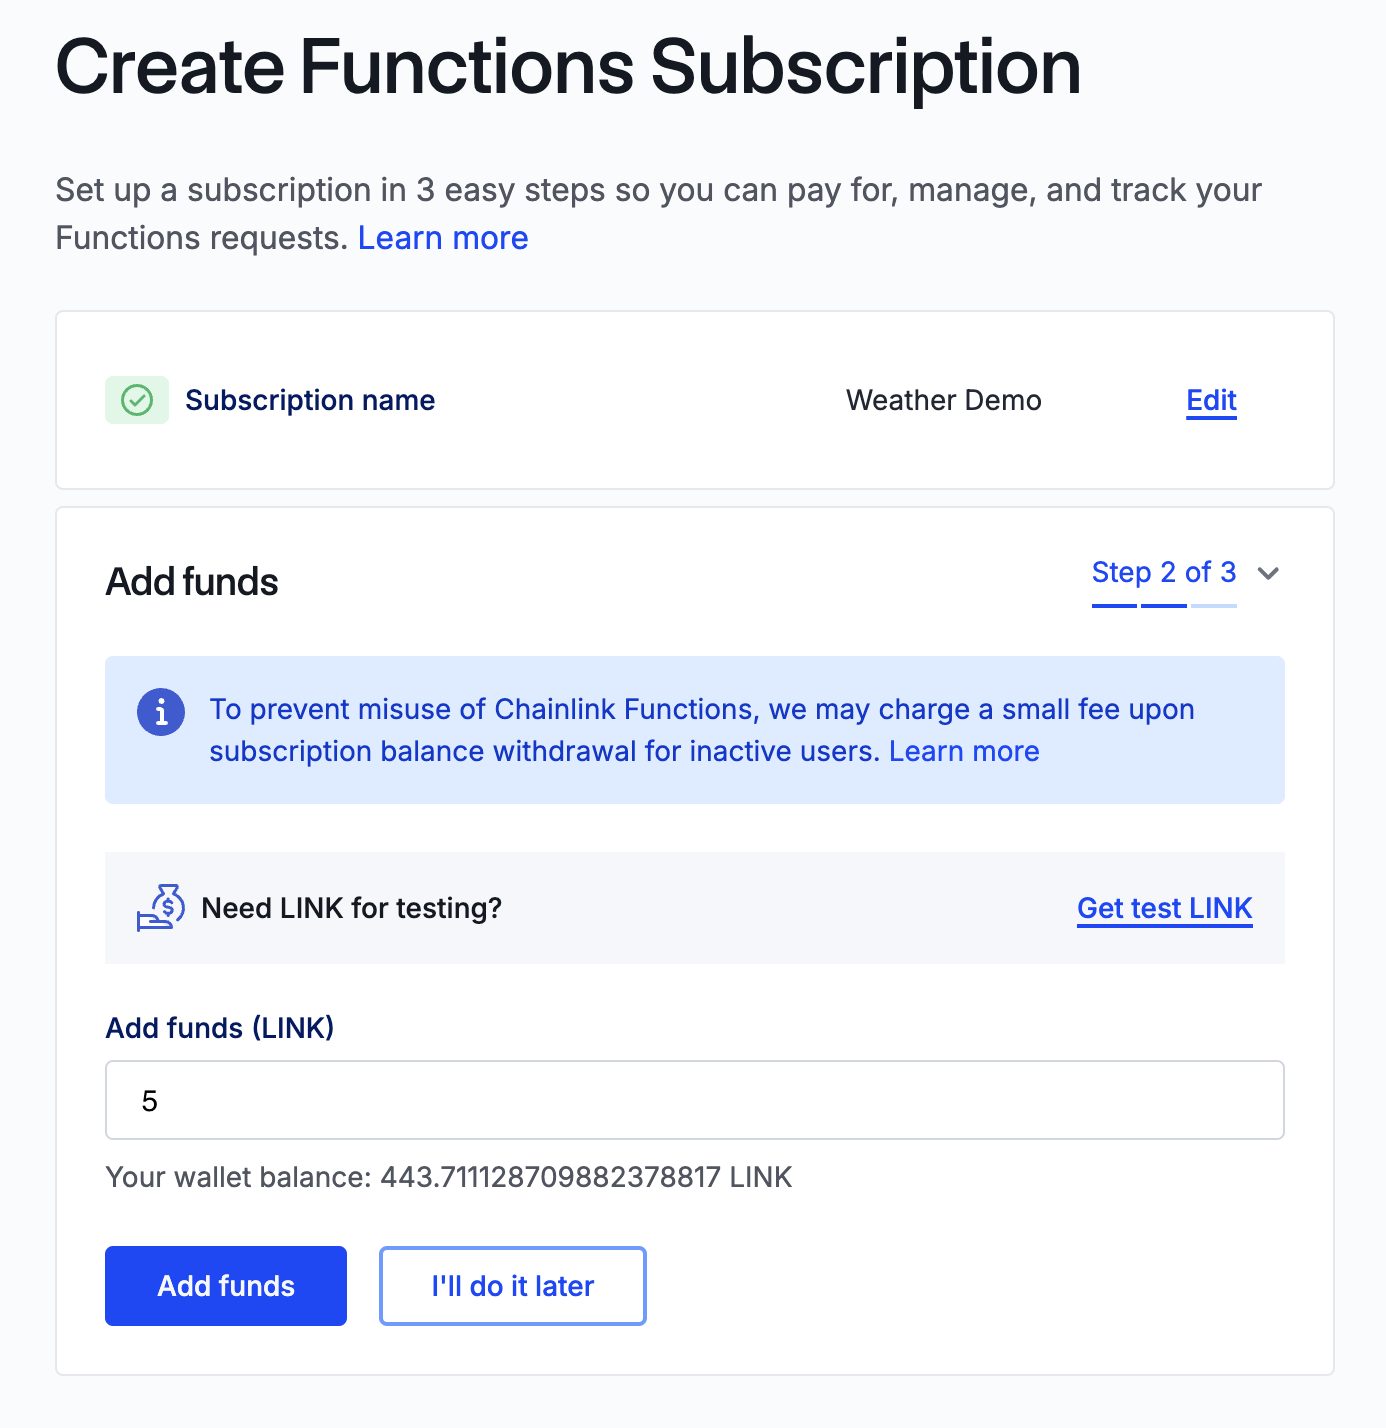 Sign the transaction and send the LINK tokens to your subscription. Once the transaction has gone through, your subscription will have been successfully created and funded. It is now ready to add consumer contracts to make Chainlink Functions requests. ## Adding a consumer contract To add the `FunctionsConsumer` contract to your subscription, click **Add consumer**: 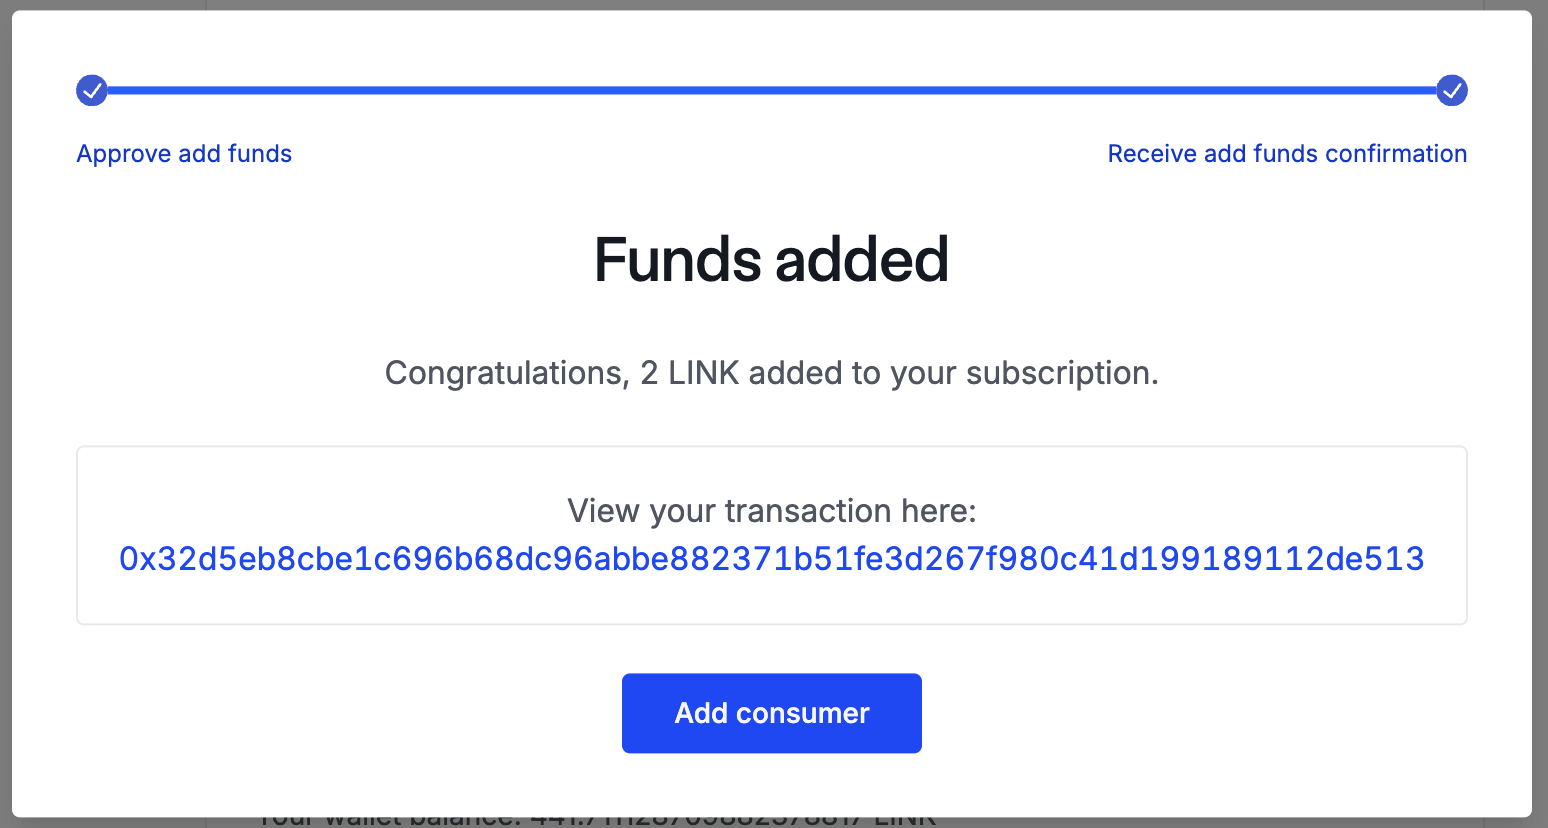 Then, go back to Remix and copy the address of the `FunctionsConsumer` contract we deployed in the previous lesson: 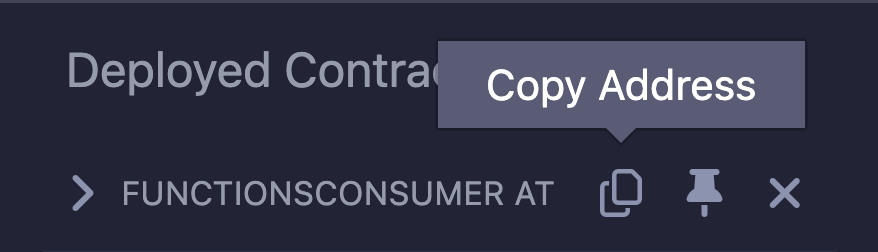 Back in the Chainlink Functions app, paste this in as the **Consumer address** and click **Add consumer**: 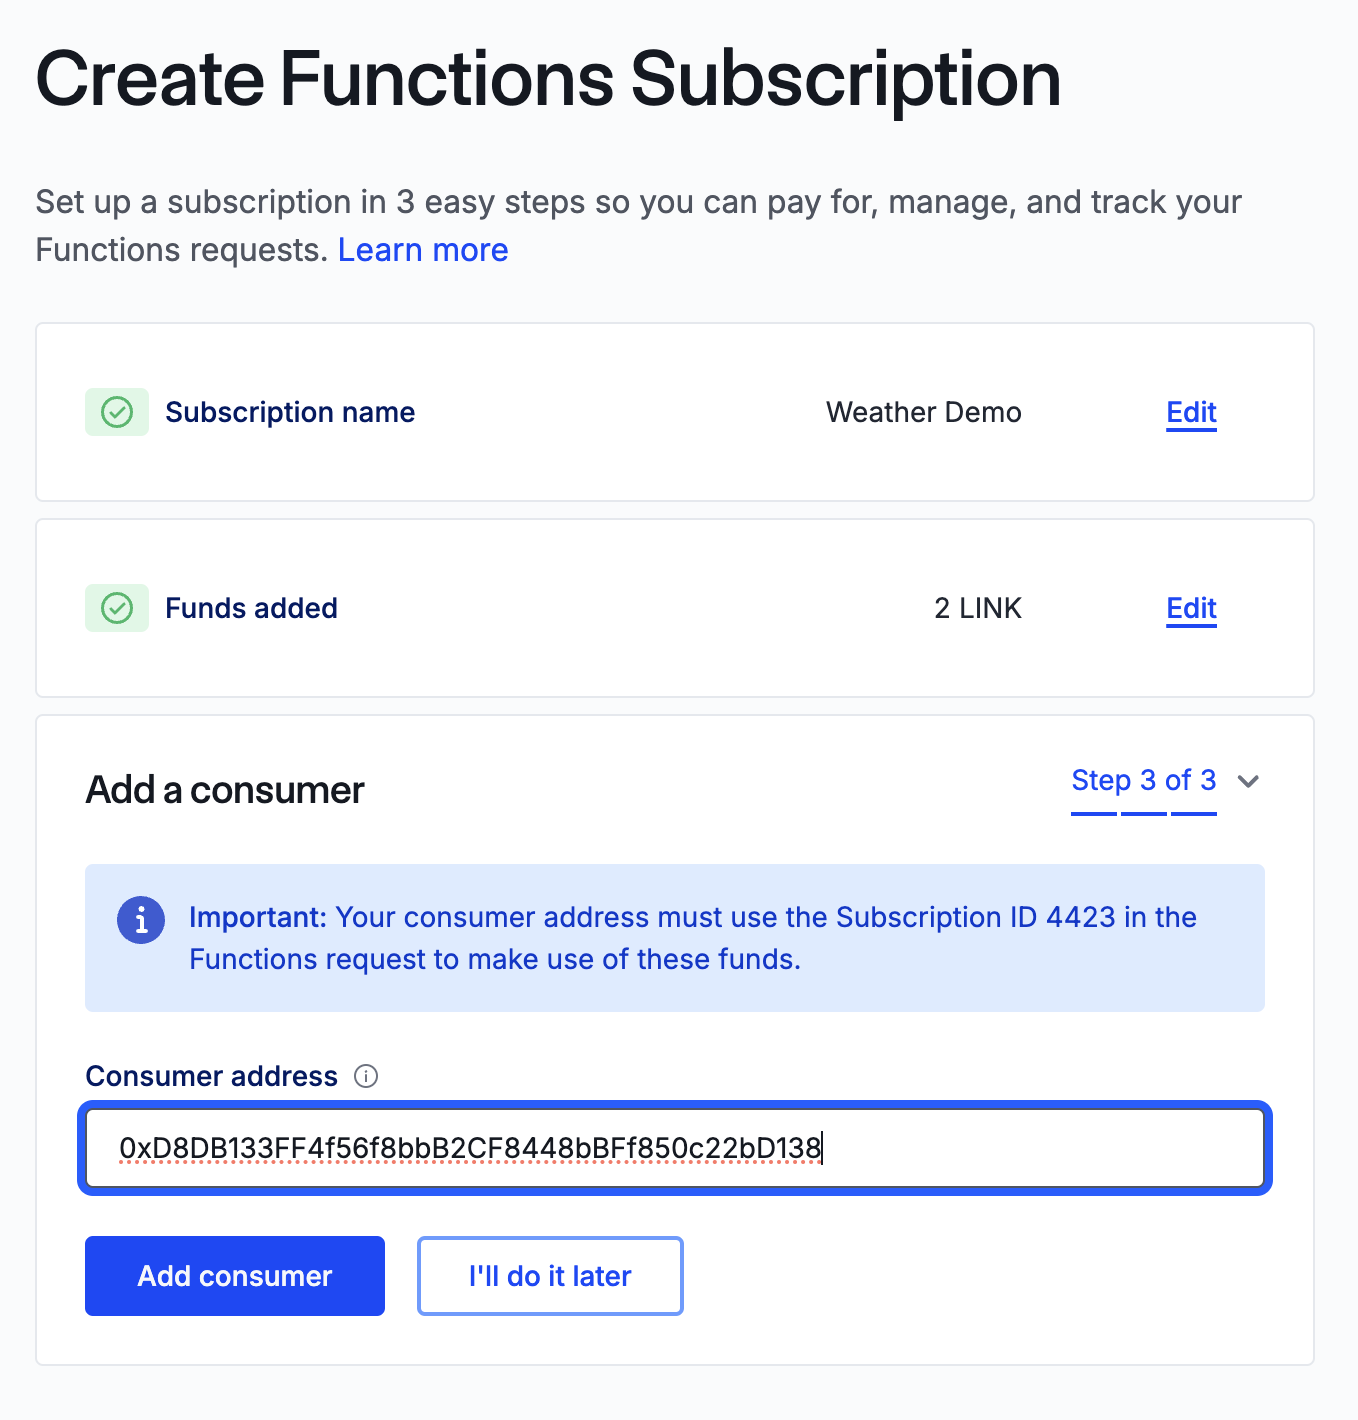 Sign the message in MetaMask to send the transaction to add the consumer contract to the subscription. Once the transaction has gone through, the subscription configuration is complete, and you will be ready to make your first request! Click **View subscription** to see an overview of your subscription, including the history of requests, the consumers added, and the LINK balance: 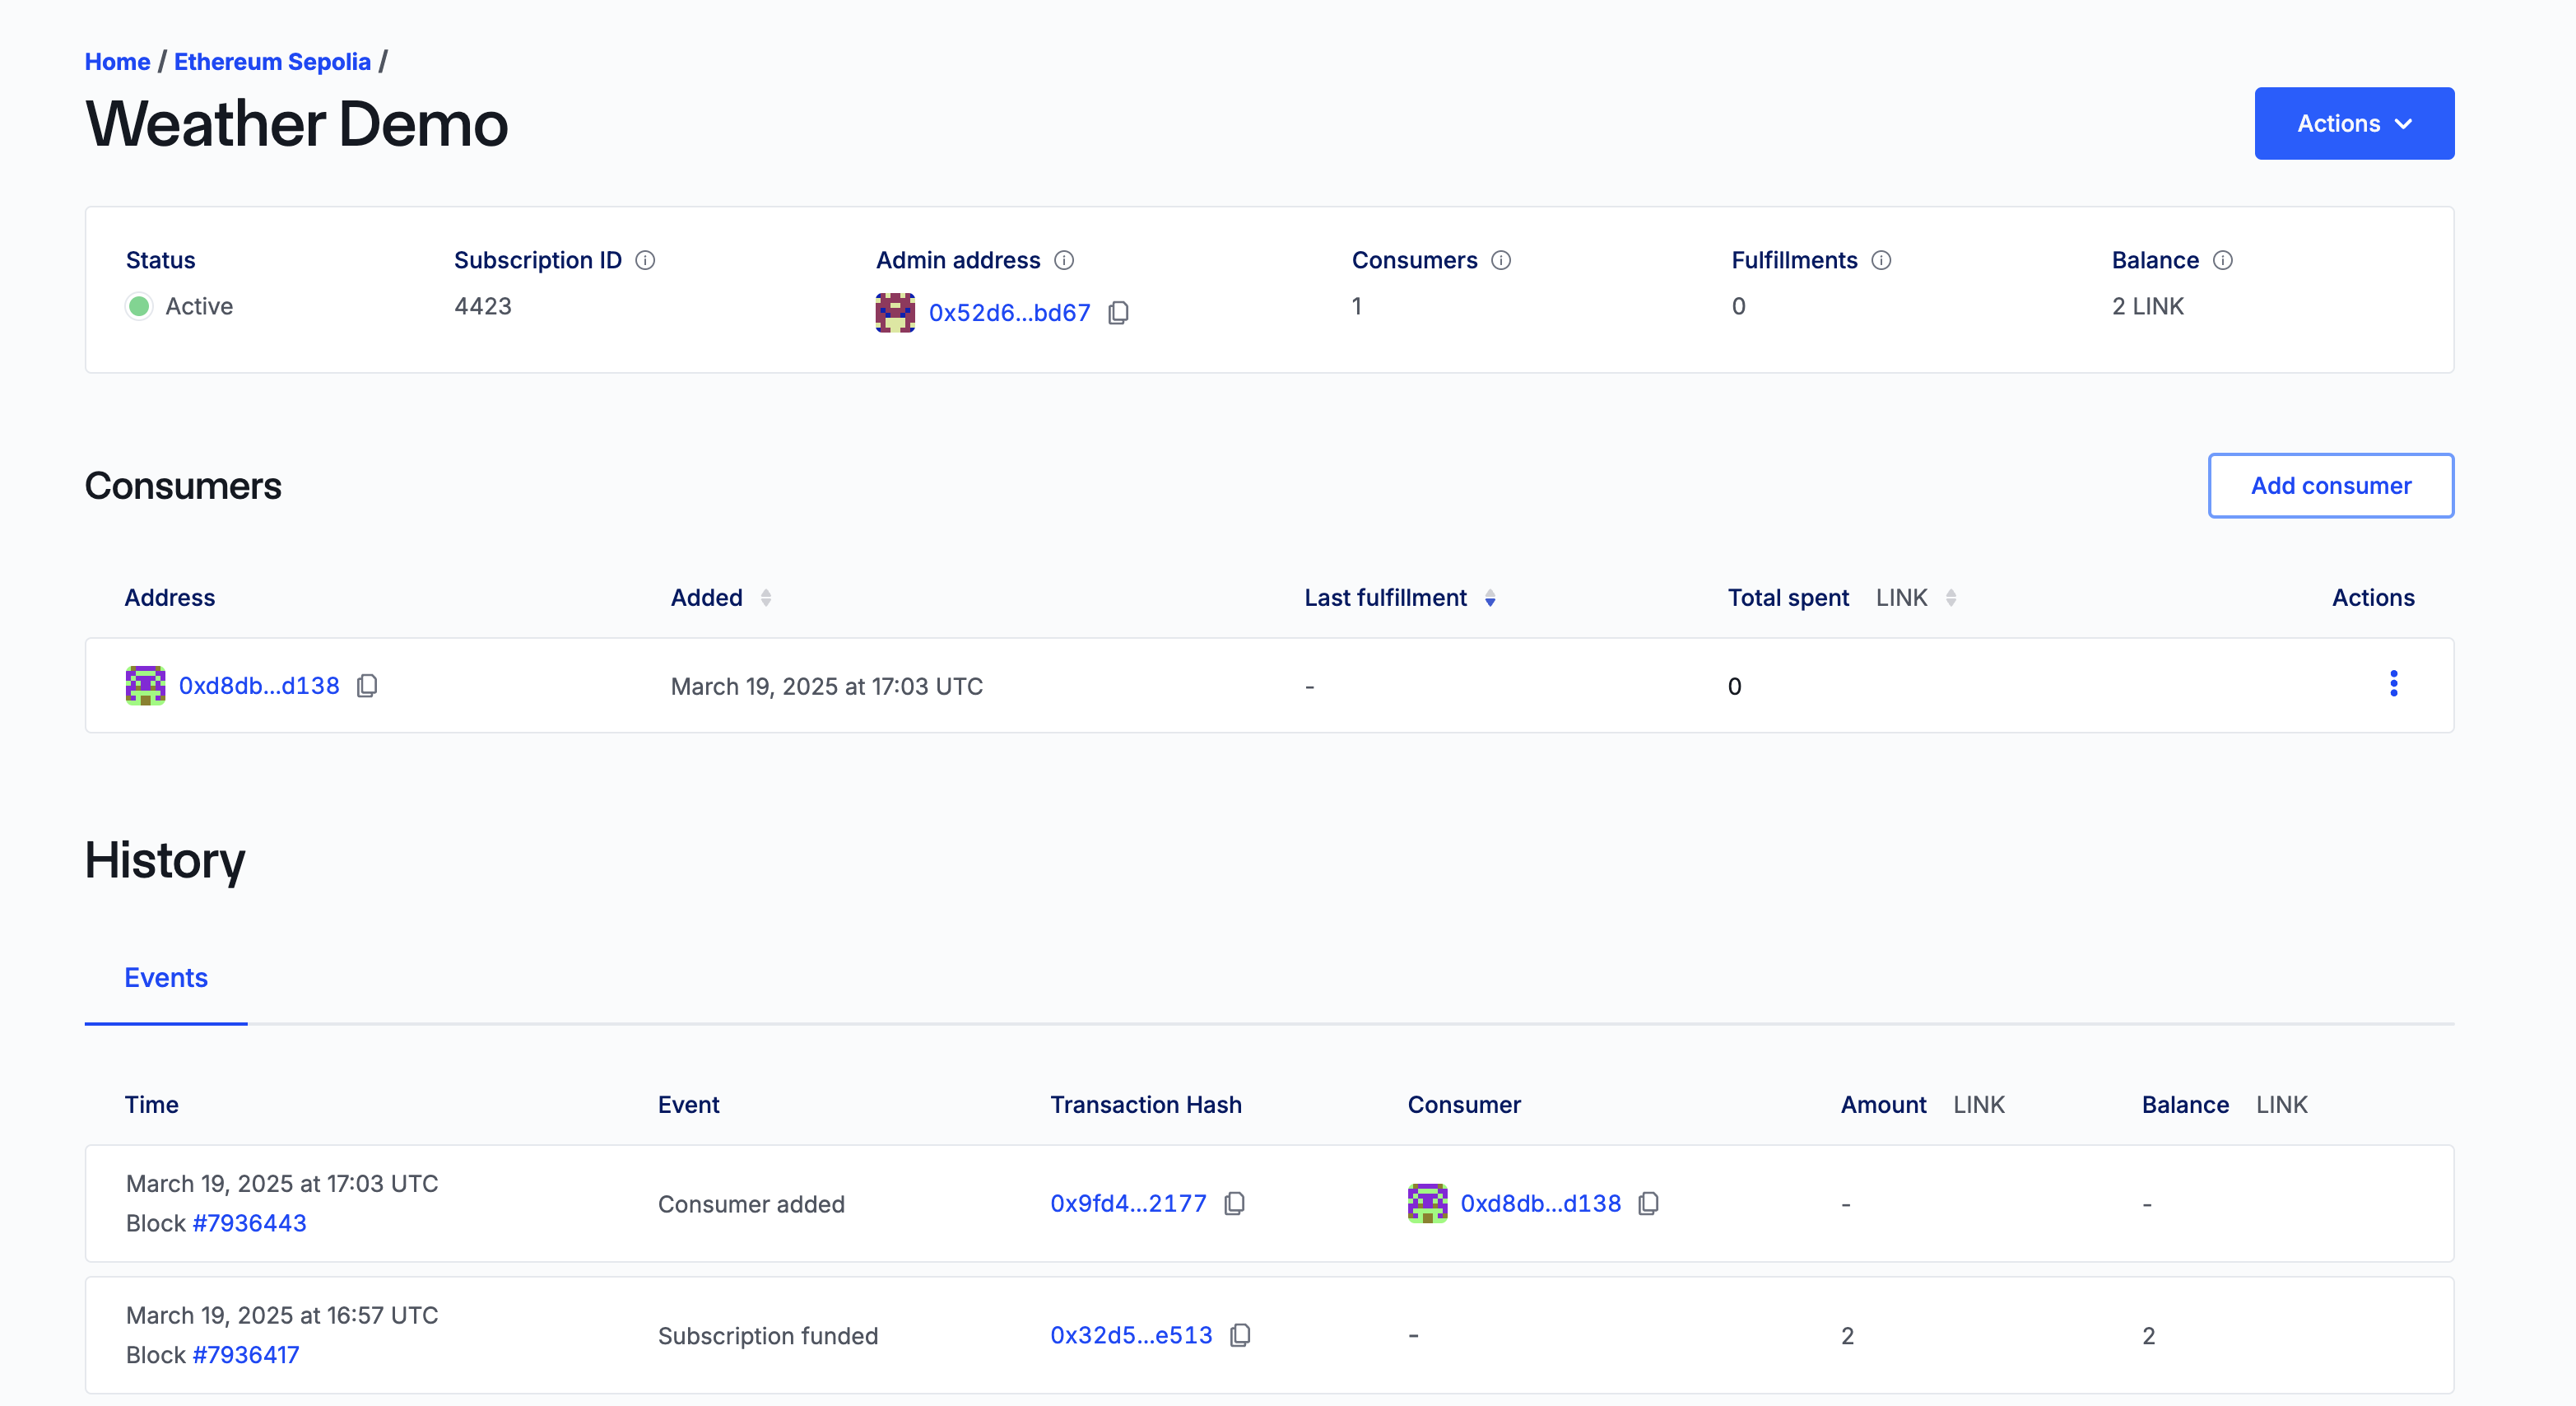 Copy the subscription ID - we are going to need this! ## Sending a Request Let's finally send a Chainlink Functions request to get the temperature for a specific city. Back in Remix, expand the `FunctionsConsumer` contract dropdown in the **Deployed Contracts** section. Find the `getTemperature` function and enter the following parameters: - `_city`: `London` - `subscriptionId`: the ID you just copied. Click **transact** and then sign the transaction in MetaMask to make the Chainlink Functions request 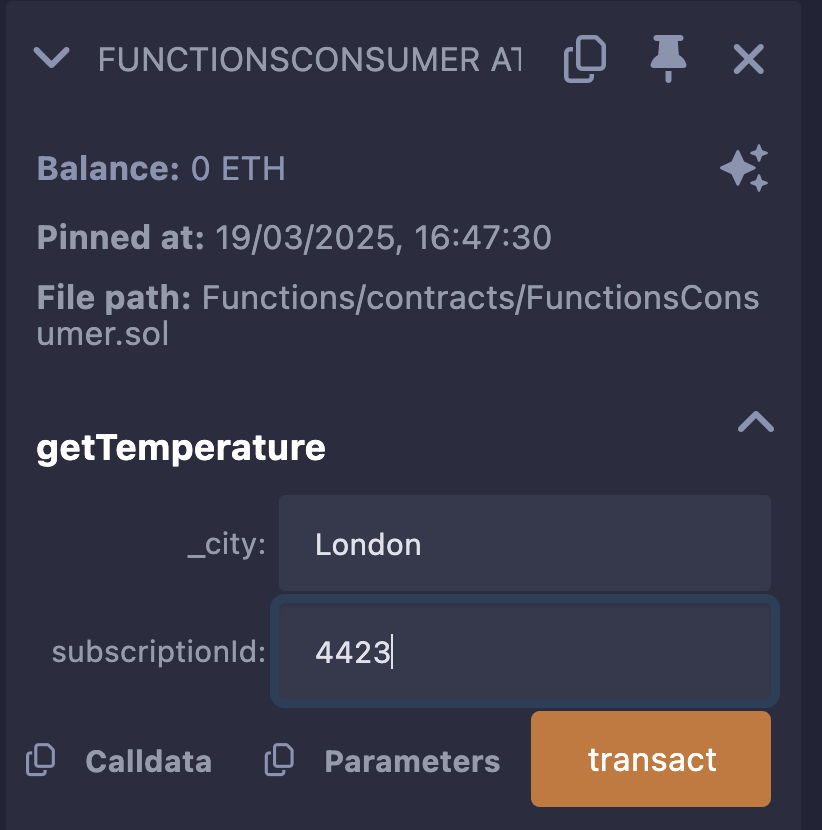 On your subscription overview page, you can see your pending Chainlink Functions request: 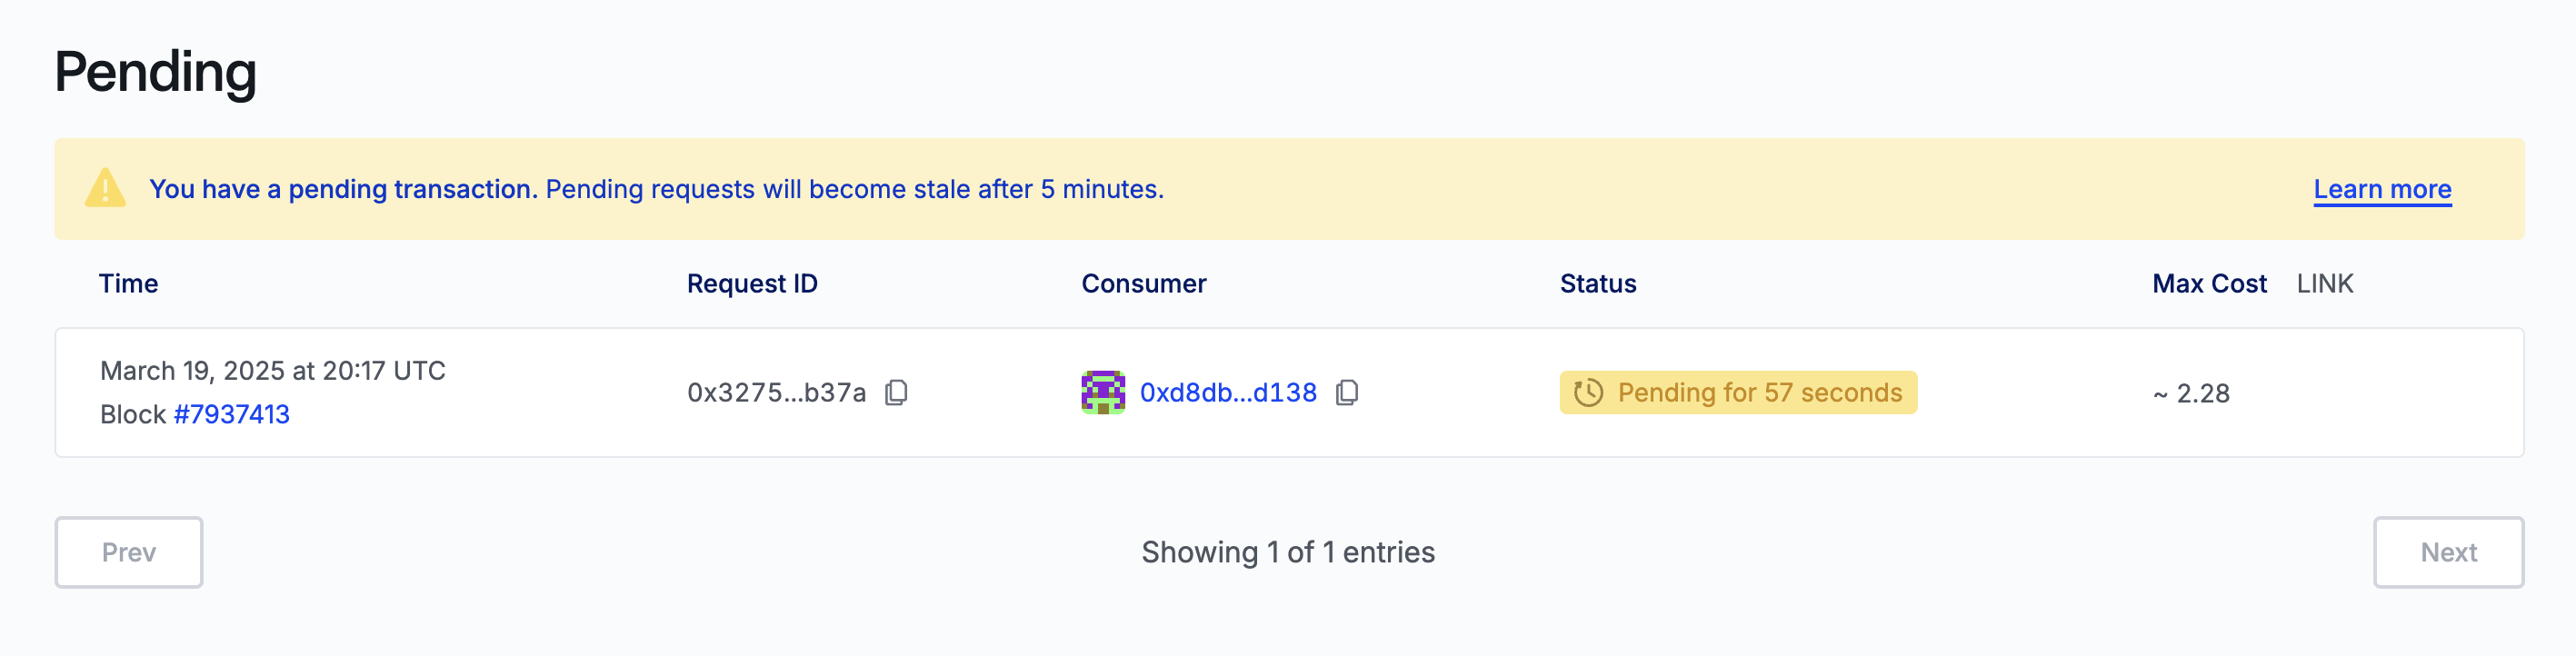 Once the request has been filled, you will be able to see it in the **History** section: 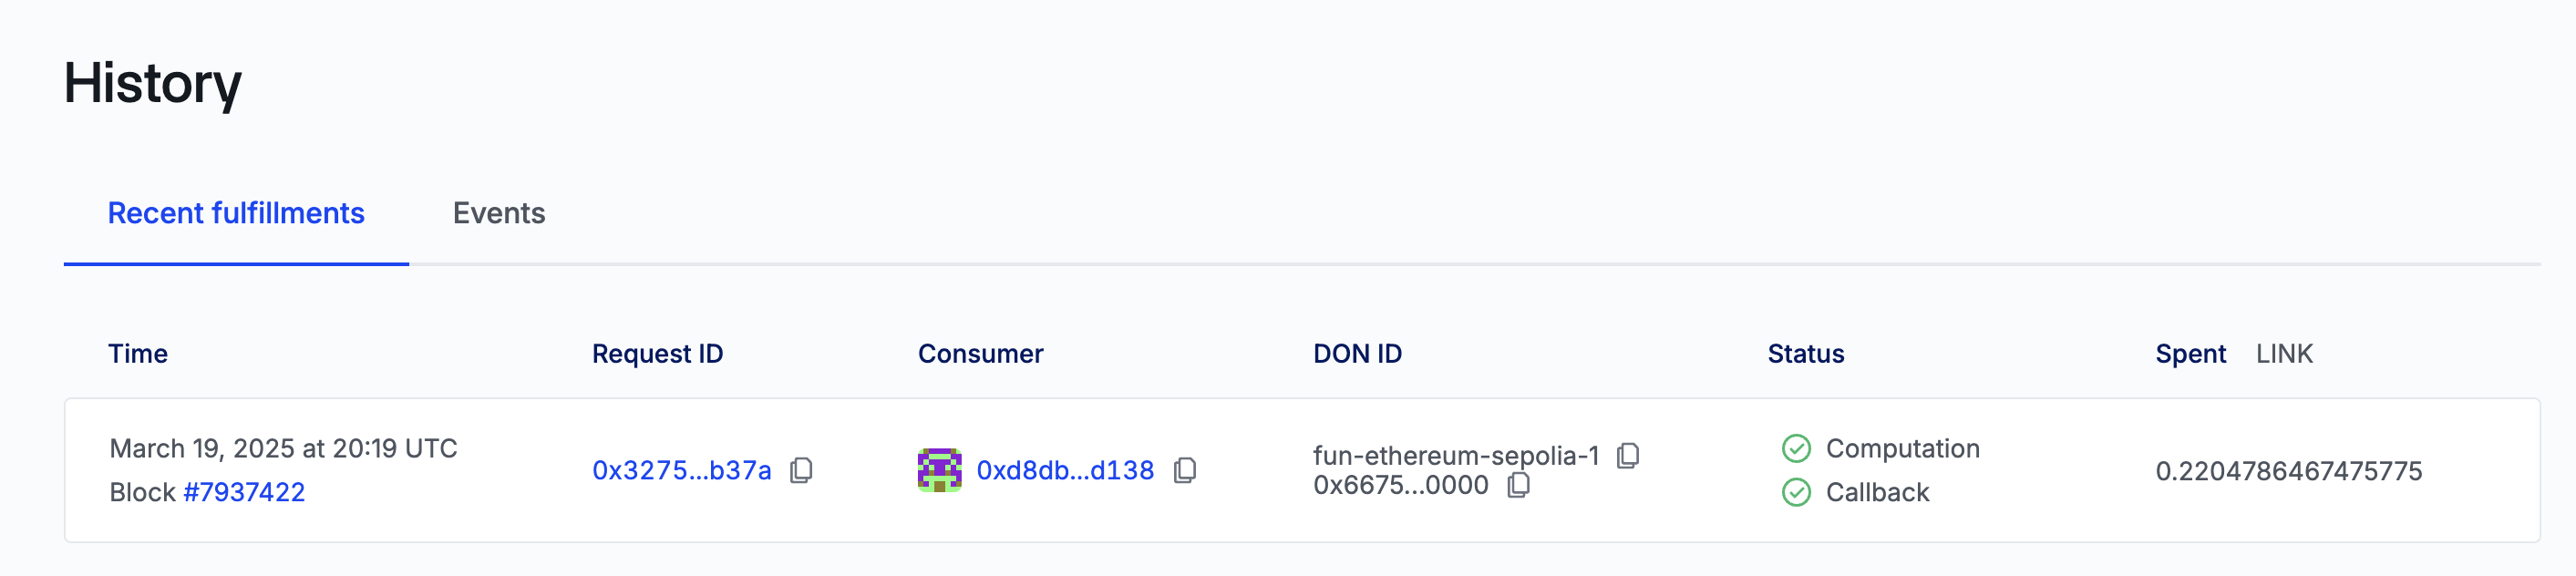 Now, in Remix, if we interact with our `FunctionsConsumer` contract and call the `s_lastTemperature` and `s_lastCity` functions, we can see the returned result: 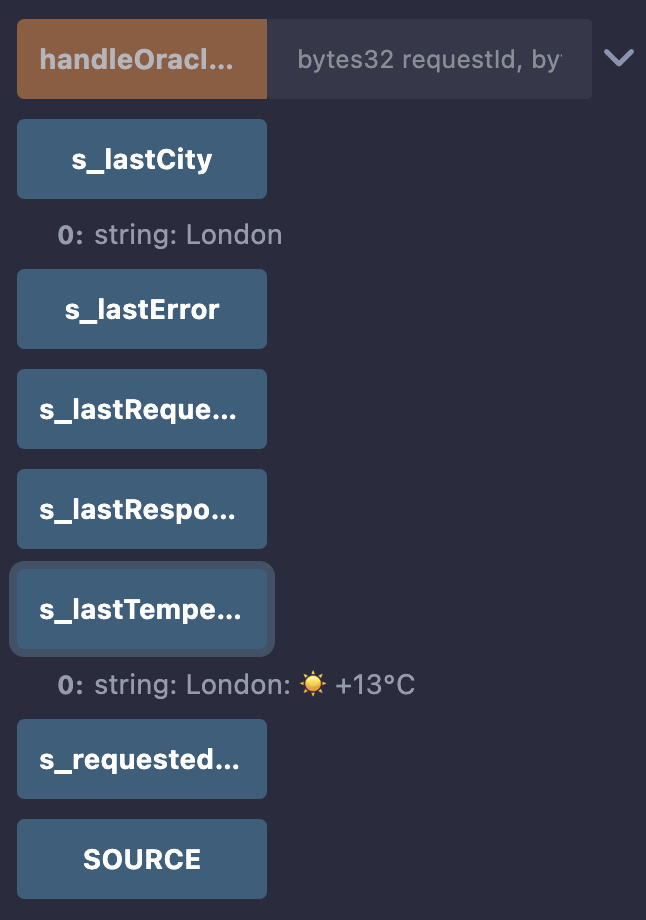 As you can see, we successfully used Chainlink Functions to bring API data on-chain in a decentralized and secure way!
Chainlink Functions Subscription
In this lesson, we are going to create a Chainlink Functions subscription so we can add Chainlink Functions consumer contracts to it to fund their Chainlink Functions requests.
Creating a Chainlink Functions subscription
Let's create a Chainlink Functions subscription on Sepolia.
As a recap, Chainlink Functions subscriptions are used to pay for, manage, and track Chainlink Functions requests.
Open functions.chain.link, connect your wallet (make sure you are still connected to Sepolia) and click Create Subscription:

Enter your email and, optionally, a subscription name.

The first time you interact with the Subscription Manager using your wallet, you must accept the Terms of Service (ToS). A MetaMask popup will prompt you to sign a message to accept the TOS.

MetaMask will then pop up again and ask you to sign a message to approve the subscription creation:

After the subscription has been approved, MetaMask will pop up a third time and prompt you to sign a message that links the subscription name and email address you provided and ensure you are the subscription owner:

Funding a subscription
After the subscription has been created, add funds by clicking the Add funds button:

For this example, enter 5 LINK and click Add funds:

Sign the transaction and send the LINK tokens to your subscription. Once the transaction has gone through, your subscription will have been successfully created and funded. It is now ready to add consumer contracts to make Chainlink Functions requests.
Adding a consumer contract
To add the FunctionsConsumer contract to your subscription, click Add consumer:

Then, go back to Remix and copy the address of the FunctionsConsumer contract we deployed in the previous lesson:

Back in the Chainlink Functions app, paste this in as the Consumer address and click Add consumer:

Sign the message in MetaMask to send the transaction to add the consumer contract to the subscription. Once the transaction has gone through, the subscription configuration is complete, and you will be ready to make your first request!
Click View subscription to see an overview of your subscription, including the history of requests, the consumers added, and the LINK balance:

Copy the subscription ID - we are going to need this!
Sending a Request
Let's finally send a Chainlink Functions request to get the temperature for a specific city.
Back in Remix, expand the FunctionsConsumer contract dropdown in the Deployed Contracts section. Find the getTemperature function and enter the following parameters:
_city:LondonsubscriptionId: the ID you just copied.
Click transact and then sign the transaction in MetaMask to make the Chainlink Functions request

On your subscription overview page, you can see your pending Chainlink Functions request:

Once the request has been filled, you will be able to see it in the History section:

Now, in Remix, if we interact with our FunctionsConsumer contract and call the s_lastTemperature and s_lastCity functions, we can see the returned result:

As you can see, we successfully used Chainlink Functions to bring API data on-chain in a decentralized and secure way!
Functions Subscription
A practical guide to Chainlink Functions Subscription - Learn to create and fund a Chainlink Functions subscription using the web UI on the Sepolia testnet. Add your consumer contract and execute your first request to bring off-chain API data securely on-chain.

Course Overview
About the course
What you'll learn
Smart contract and Solidity fundamentals
Chainlink’s decentralized oracle network (DON)
Chainlink Data Feeds
Chainlink Data Streams
Chainlink Automation
Chainlink CCIP
Chainlink Functions
Verifiable Random Function (VRF)
Chainlink Proof of Reserve
Course Description
Who is this course for?
- Smart Contract Developers
- Solutions Architects
- Blockchain Engineers
- Web3 Developers
- Security Researchers
Potential Careers
Smart Contract Engineer
$100,000 - $150,000 (avg. salary)
DeFi Developer
$75,000 - $200,000 (avg. salary)
Web3 developer
$60,000 - $150,000 (avg. salary)
Web3 Developer Relations
$85,000 - $125,000 (avg. salary)
Smart Contract Auditor
$100,000 - $200,000 (avg. salary)
Security researcher
$49,999 - $120,000 (avg. salary)
Blockchain Financial Analyst
$100,000 - $150,000 (avg. salary)


Last updated on July 25, 2025

Certification: Chainlink Fundamentals
The Chainlink Fundamentals proficiency exam covers is designed to confirm your grasp of all key concepts and learnings presented in the course material. Exam takers will have 75 minutes to complete 50 questions and must score 30/50 to pass and earn a Certificate of Completion. Because course material is continually updated, The Chainlink Fundamentals Certificate of Completions expires after 1 year. To remain current, holders must re-take the exam and pass to confirm their current knowledge.

Course Overview
About the course
What you'll learn
Smart contract and Solidity fundamentals
Chainlink’s decentralized oracle network (DON)
Chainlink Data Feeds
Chainlink Data Streams
Chainlink Automation
Chainlink CCIP
Chainlink Functions
Verifiable Random Function (VRF)
Chainlink Proof of Reserve
Course Description
Who is this course for?
- Smart Contract Developers
- Solutions Architects
- Blockchain Engineers
- Web3 Developers
- Security Researchers
Potential Careers
Smart Contract Engineer
$100,000 - $150,000 (avg. salary)
DeFi Developer
$75,000 - $200,000 (avg. salary)
Web3 developer
$60,000 - $150,000 (avg. salary)
Web3 Developer Relations
$85,000 - $125,000 (avg. salary)
Smart Contract Auditor
$100,000 - $200,000 (avg. salary)
Security researcher
$49,999 - $120,000 (avg. salary)
Blockchain Financial Analyst
$100,000 - $150,000 (avg. salary)
Last updated on July 25, 2025